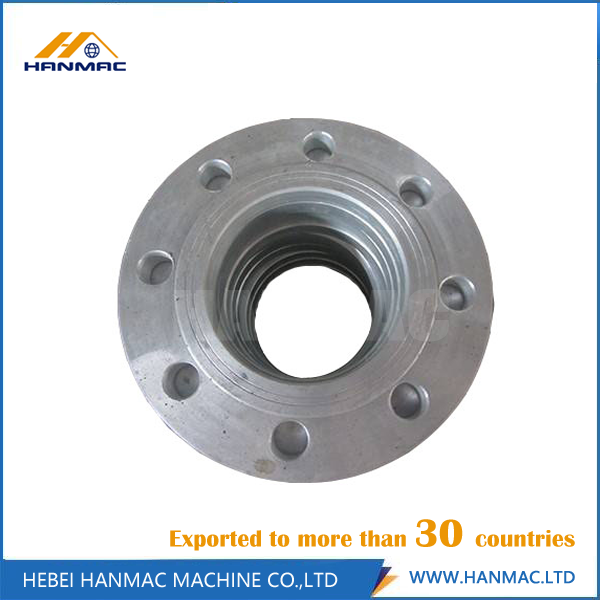
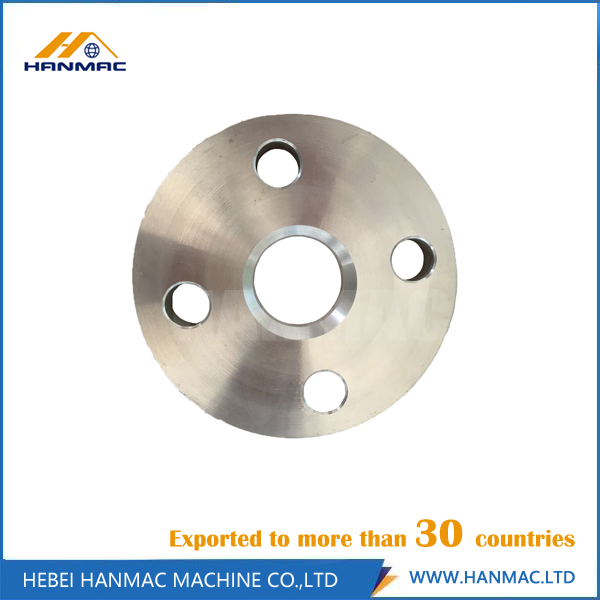
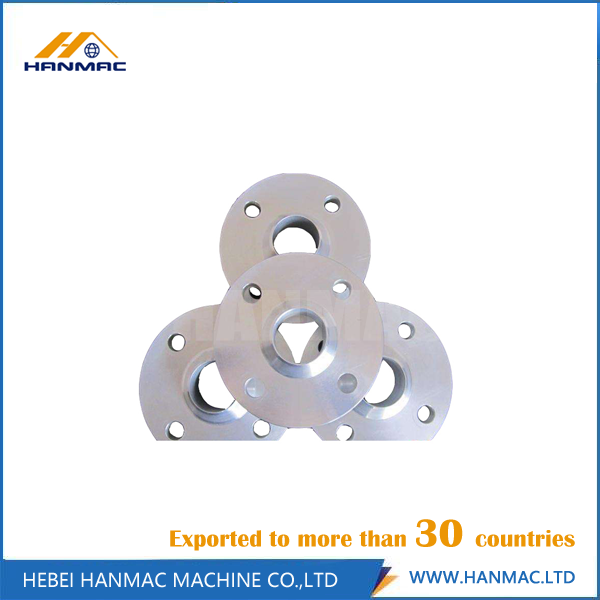
HANMAC have professional workers for packing Aluminum Weld Neck Flange. So that we can make sure that the packing for Aluminum 1060 Welding Neck Flange is safely. Some trial order for Aluminum 6061 Wn Flange , Aluminum 5083 Weld Neck Flange could be done in one week.
We can offer high quality aluminum weld neck flanges.
Our production scope: ASTM/ASME/ANSIB16.5, B16.47,
ASME/ANSIB16.48 flange Slip On Flange , Weld Neck Flange Threaded Flange Blind Flange
Size: 1/2"-120" (DN15-DN3000)
Pressure: Class150-Class2500
Material: 1060,5083,6061 and their temper T6
Standard: ASTM/ASME/ANSIB16.5, ASME/ANSI B16.3and
B16.47, ASME/ANSIB16.42, JIS/KS (5K, 10K, 16K, 20K), DIN2633, DIN2634, DIN2635,EN1092,BS4504,,Customized drawings
Inspection: In house and third party
Document: MTC Comply with EN10204 3.1 can be
provided prior to shipment
Aluminum Weld Neck Flange, Aluminum 1060 Welding Neck Flange, Aluminum 6061 Wn Flange, Aluminum 5083 Weld Neck Flange HEBEI HANMAC MACHINE CO., LTD. , http://www.chinahanmac.com
first step
* Turn off the power drain charge
1 Although the power switch of the body is turned off, there may still be electricity in the power box. Therefore, before performing maintenance on the equipment, be sure to turn off the power supply main switch outside the equipment. Never carry live work to ensure the safety of cleaning personnel.
2 After opening the access door of the equipment, discharge the electric field residual charge before extracting the electric field. (See Fig. 1) Use a screwdriver to discharge the residual charge in the discharge field. The specific operation is to hold the screwdriver's insulated handle and short-circuit the cathode and anode of one of the electric fields with the metal part of the screwdriver.
3 At the same time when the user cleans the electric field, the internal oil contamination of the chassis must be strictly cleaned on time to eliminate potential fire hazards.
Second step
* Unscrew the bolt and pull out the electric field
To ensure that the power supply has been disconnected, unscrew the fixing bolt, open the maintenance door (see Figure 2), and then pull the electric field on both sides by hand (Figure 3). When the electric field is about to be withdrawn, hold the end with your hand. Prevent sudden loss and damage the electric field. (Note that the electric field must be lightly lifted, cannot be squeezed, and dropped)
third step
* Disassemble accessories for easy cleaning
Because the insulator wet water can easily cause leakage, it is necessary to remove the insulator while cleaning the cathode burr and the anode plate for further cleaning. (As shown in Figure 4)
the fourth step
* Electric field cleaning, soaking rinse
Use a stainless steel or plastic tank container, the shape is larger than the electric field size. To avoid soiling the floor during cleaning, wrap the soot purifier and remove the bag in the container. Use caustic soda and hot water mixed solution with a weight ratio of 1:20 to soak, according to the degree of oil pollution soaking time is also different, soak and then use high-pressure water gun and rinse with water (as shown in Figure 5), placed in a clean Places to dry.
the fifth step
* Insulator inspection and cleaning
If it is found that the insulators have burned traces and cracks, they must be replaced; the insulators and the oil on the top of the insulator must be cleaned and kept dry. The cleaning method is as follows: First, spray the alcohol on the insulator, then dry it with a dry rag. (As shown in Figure 6)
Step 6
* Assembly inspection correction
1 After the electric field is air-dried, check whether there is any foreign matter between the positive and negative plates, keep it cool and prevent short circuit, and check whether the positive and negative plates hit the concave area. If so, slowly restore it with a tong or screwdriver. (Figure 7)
2 Then carefully clean the purifier core and check the deviation of the anode and cathode plates.
3 If there is a deviation of the specific method of operation: the electric field components gently placed in a flat place, with a cathode deviation detector to detect the location of each plate, to ensure that each cathode needle position is not biased before the electric field can be loaded back Equipment.
Step 7
* Equipment debugging
After the electric field is loaded and energized, the power indicator is always on and the device can work normally. When the power indicator is flashing, accompanied by a "click" sound, the corresponding electric field must be taken out. The cathode is obtained through practical experience. If there are deviations in the plates and the discharges are not uniform, a “pop†sound will be produced. In this case, check and correct the cathode plates again.
If the user still can not solve the problem, you need to first stop and contact the manufacturer or dealer.


How to clean fume purifier
The main function of the soot purifier is to filter the fumes produced by the kitchen to reduce the pollution to the atmosphere. With the passage of time, fume purifiers will gradually deposit internal oil. If you do not clean regularly, you will not be able to filter soot (it will also cause soot in the kitchen), and it will burn smoke purifiers and even cause fire. Therefore, it is necessary to regularly clean the lampblack purifier.